How Can We Help? Let’s Talk!
Important!
If you have not received the email invite from Orbit Media Studios, contact your PM.
Step 1
Accept the email invite
- Check your email for the invitation from Orbit Media Studios to join Cookiebot
- Click the link to Create a Cookiebot Account

To ensure a successful deployment, the below steps should be completed within 5 days of accepting the invitation.
Step 2
Create your account
- Enter an email address and password
- Read and accept terms of service, privacy policy, and DPA
- Click Create Account
NOTE: If you already have an account, click Log in at the bottom of the screen.

Step 3
Activate your Cookiebot subscription
- Check your email for the Registration Key to activate your subscription.
- Enter the Registration Key in the field in Cookiebot
- Click Submit

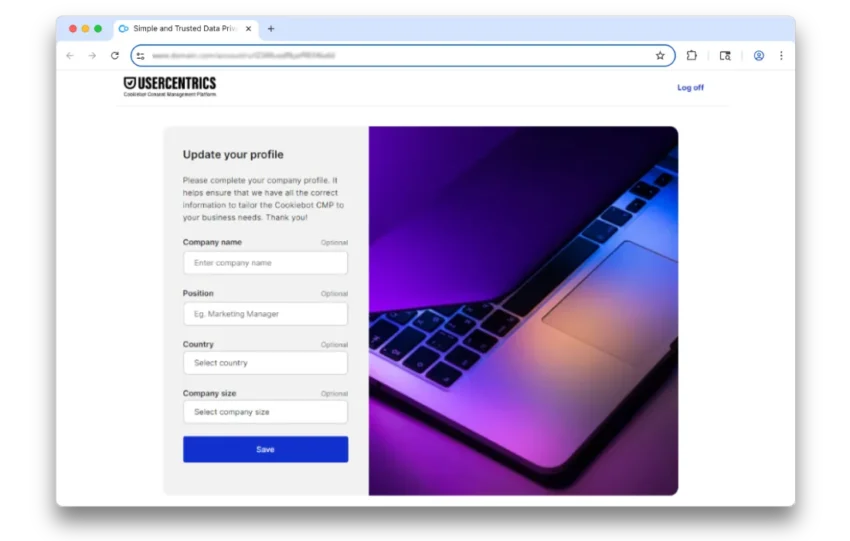
Step 4
Update your Cookiebot profile
- Enter your business and contact information
- And click Save
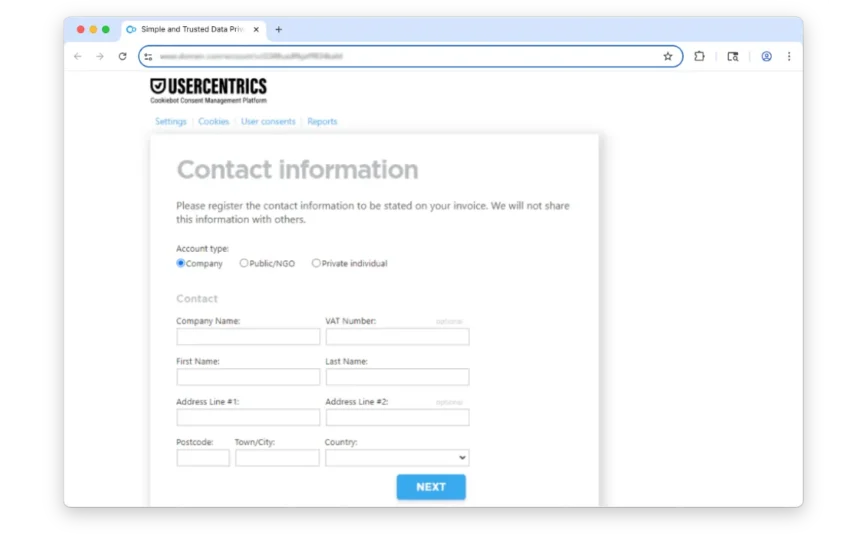
Step 5
Enter the billing contact information
- Complete the required fields
- Click Next
Step 6
Enter billing payment details

Step 7
Let us know when you are done with the account set up.
What’s happens next?
Once we see your account in our account, we will:
- Begin the configuration and installation of Cookiebot based on our default settings.
- Conduct page speed testing to help us understand the impact (if any) of the consent widget on Core Web Vitalsin Google Search Console.
- Add an annotation to Google Analytics on the date of the installation.
- Contact you to confirm when the installation is complete on the website.
A couple things of note
- Visitors of the website will be have the option to consent to your cookie policy. After the initial consent, there will be an icon in the lower left corner of your website where the visitor can adjust their consent choices.
- After the cookie consent is added to your website, you will likely see a decrease in traffic reported in Google Analytics. This occurs based on the visitors chosen consent.