Every time a link passes through a redirect, PageRank is lost through a piece of Google’s algorithm called the “damping factor.” In practice, this means that any time you link to yourself, you want to link directly to the target page, not to a URL that redirects.
Here’s how to do that, if your site runs on WordPress.
1. Get Screaming Frog
Get it here. Download it, follow the instructions to install it, yadda yadda. You know the drill.
2. Crawl your site
Once Screaming Frog is up and running, type in your site name and hit “Start.”


Wait for Screaming Frog to crawl the URLs on your site. This will be indicated by the status bar:


Wait for it to reach 100%.
3. Export 301 redirects
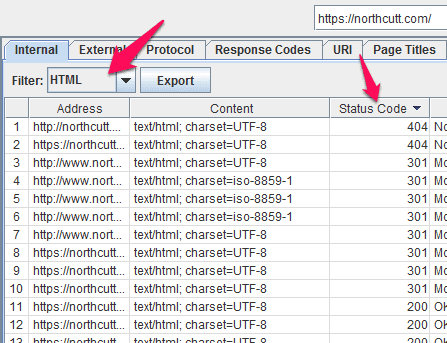
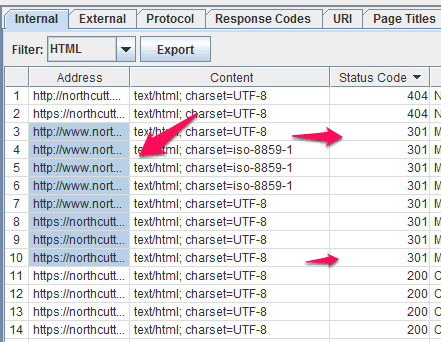
Set the “Filter” to “HTML.” Sort the URLs by clicking on the “Status Code” column heading so that the arrow points downward (for descending):

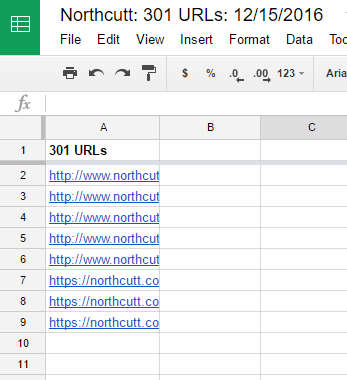
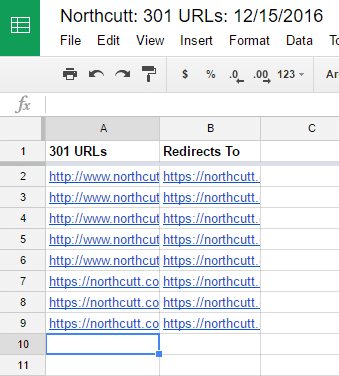
Highlight the addresses with a 301 status code, copy them (ctrl+c), and paste (ctrl+v) them into your favorite spreadsheet software (Google Sheets or Excel, for most), under a column called “301 URLs.”


4. Add correct links to the spreadsheet
The easiest method is to simply copy the URL from the spreadsheet, paste it into your browser of choice, then copy the final URL after it finishes redirecting. Paste it into a column called “Redirects To.” (Copying the destination URL from Screaming Frog can cause you to miss the fact that the URL it redirects to is broken, or another redirect.)

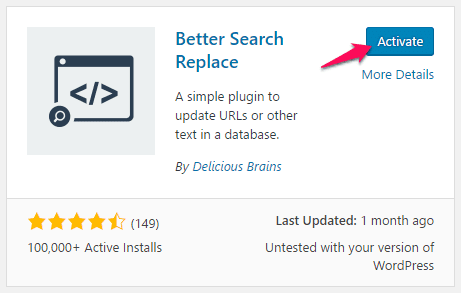
5. Install the “Better Search Replace” WordPress plugin
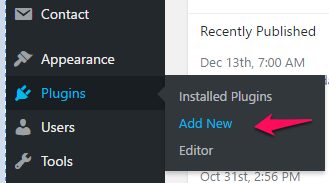
Log into WordPress and go to Plugins > Add New

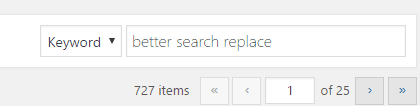
Search for the plugin:

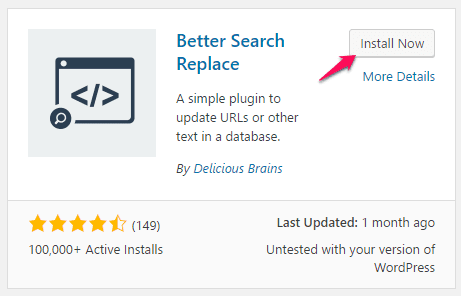
Click install:

And activate:

6. Search and replace the redirected URLs
Backing up your database before this step is advised.
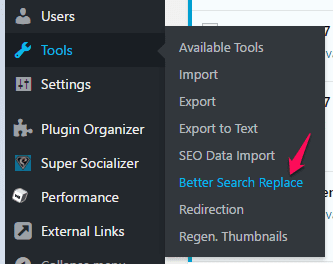
Go to Tools > Better Search Replace

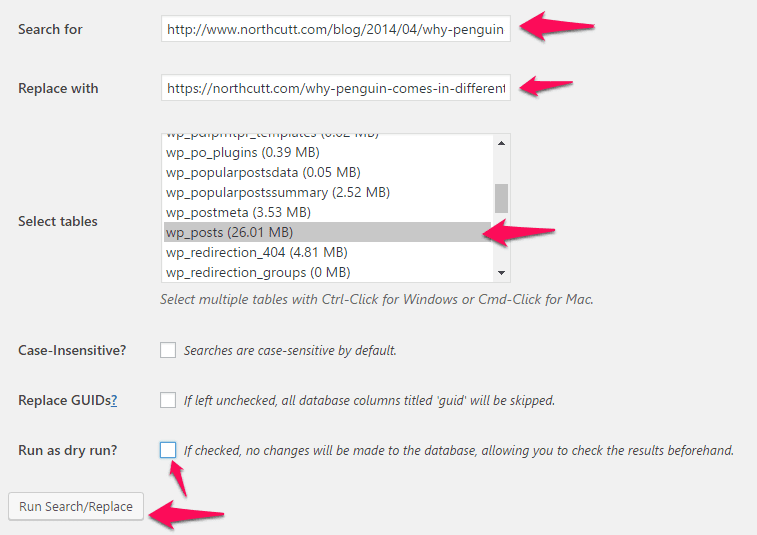
Now copy the “301 URLs” from your spreadsheet into “Search for,” and the “Redirects To” URLs into “Replace with.” You will need to do one replacement at a time, you can’t copy whole columns. Select the tables where the links are located (typically wp_posts), and make sure “Run as dry run?” is unchecked. Then press “Run Search/Replace.”
IMPORTANT: Do NOT perform replacement that includes the search string in its entirety. For example, don’t search “https://example.com” and replace it with “https://example.com/”. Doing so will perform that replacement, but will also replace “https://example.com/” with “https://example.com//”. These types of replacements must be made manually.

Repeat this for each URL. After the last search and replace is finished, you should be all set. You can run Screaming Frog a second time to ensure the 301s were fixed.
If you’re in search of more 301 redirect tips, check out: